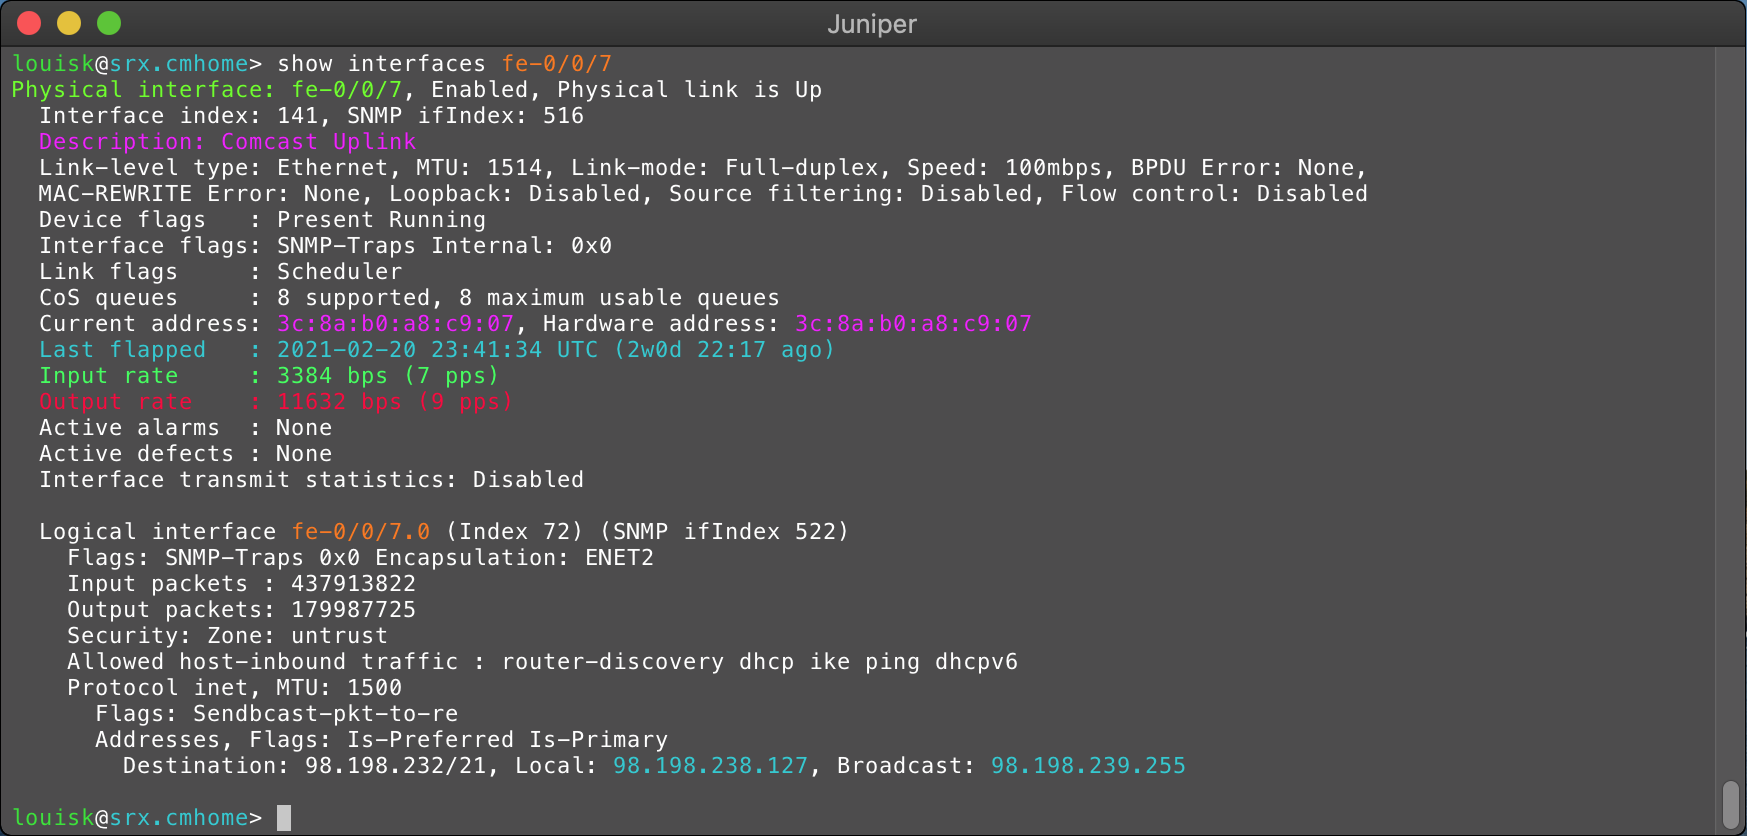
I’m trying something new. Selectively coloring output on network device terminals.
Specifically, causing the word ‘up’ to be green, and the word ‘down’ to be red. I haven’t decided how great it is, but the majority of the process could be (and probably will) extended to other things, so I wrote it up.
Regular Expressions
Yeah, regular expressions are useful, they can also assist you with foot shooting. Test test test.
Speaking of testing regular expressions, I’ve found (on more than one occasion) regex101.com to be helpful when prototyping or debugging regular expressions. If you need more material, check out O’reillly . They have plenty of material.
iTerm Profiles
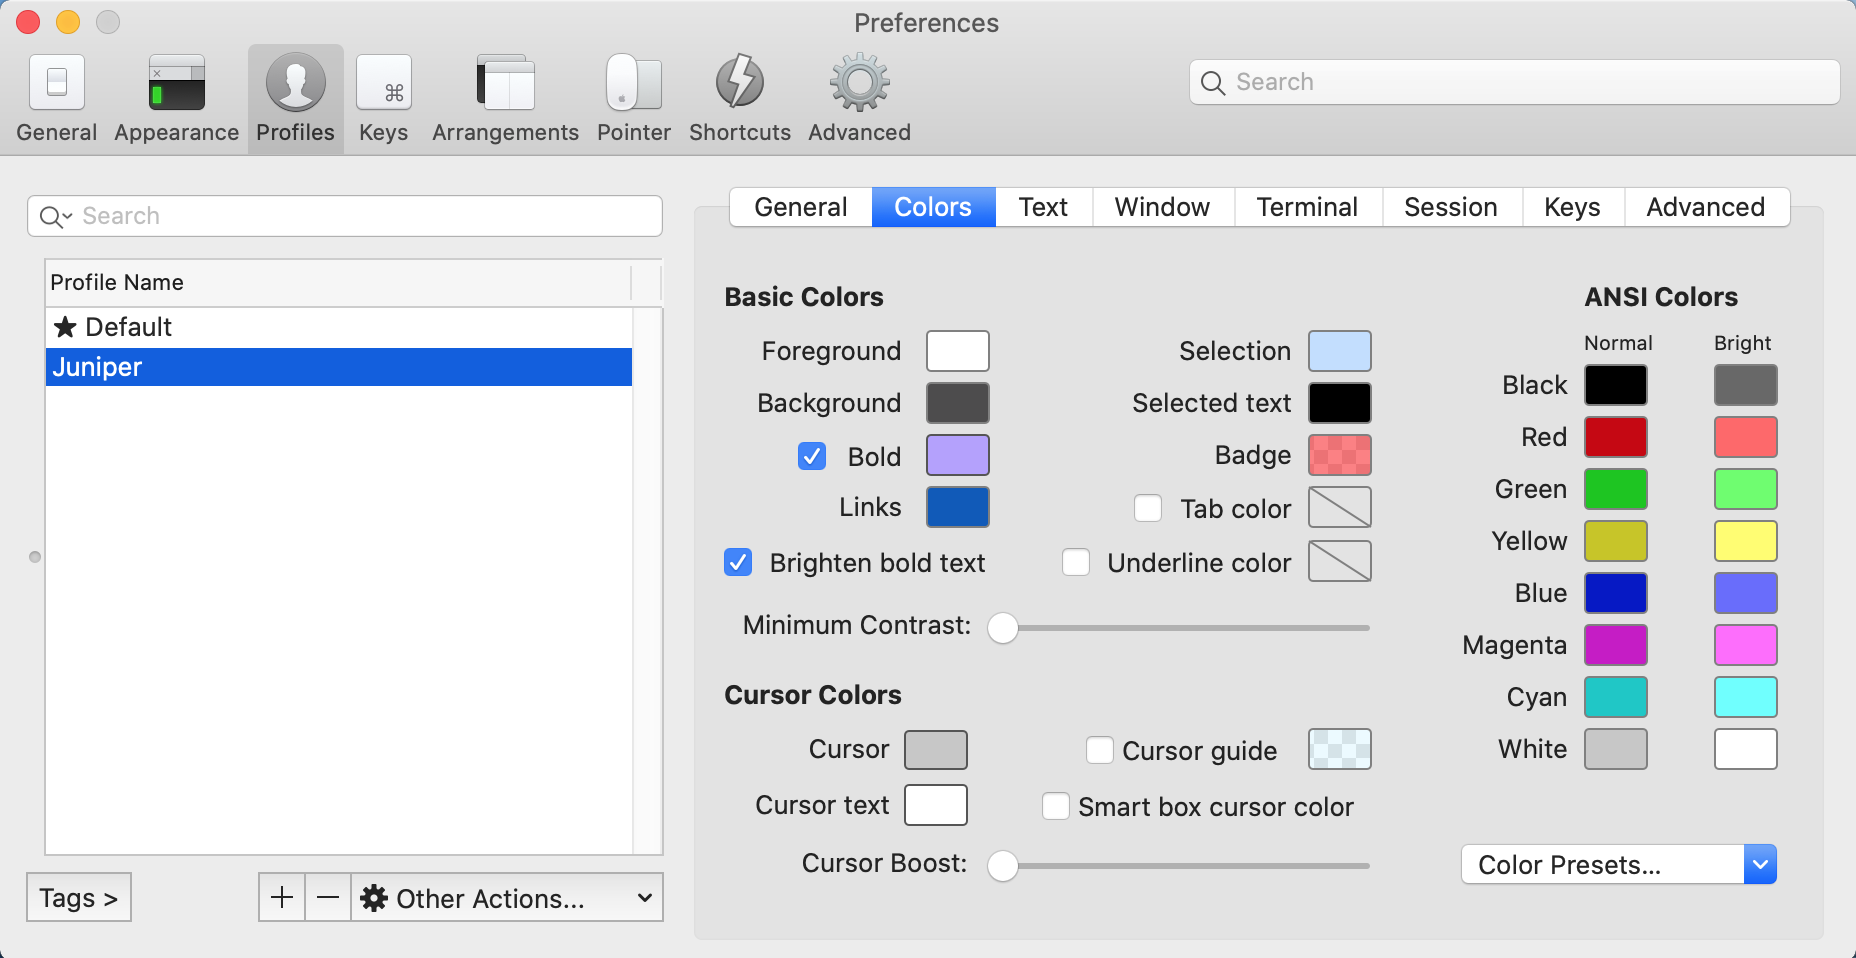
I actually worked backward on this, I started with creating the profile I wanted to switch to. Pick any associated colors (text, background, etc). If you do this first, it makes testing the trigger easier, because there is something to switch to.
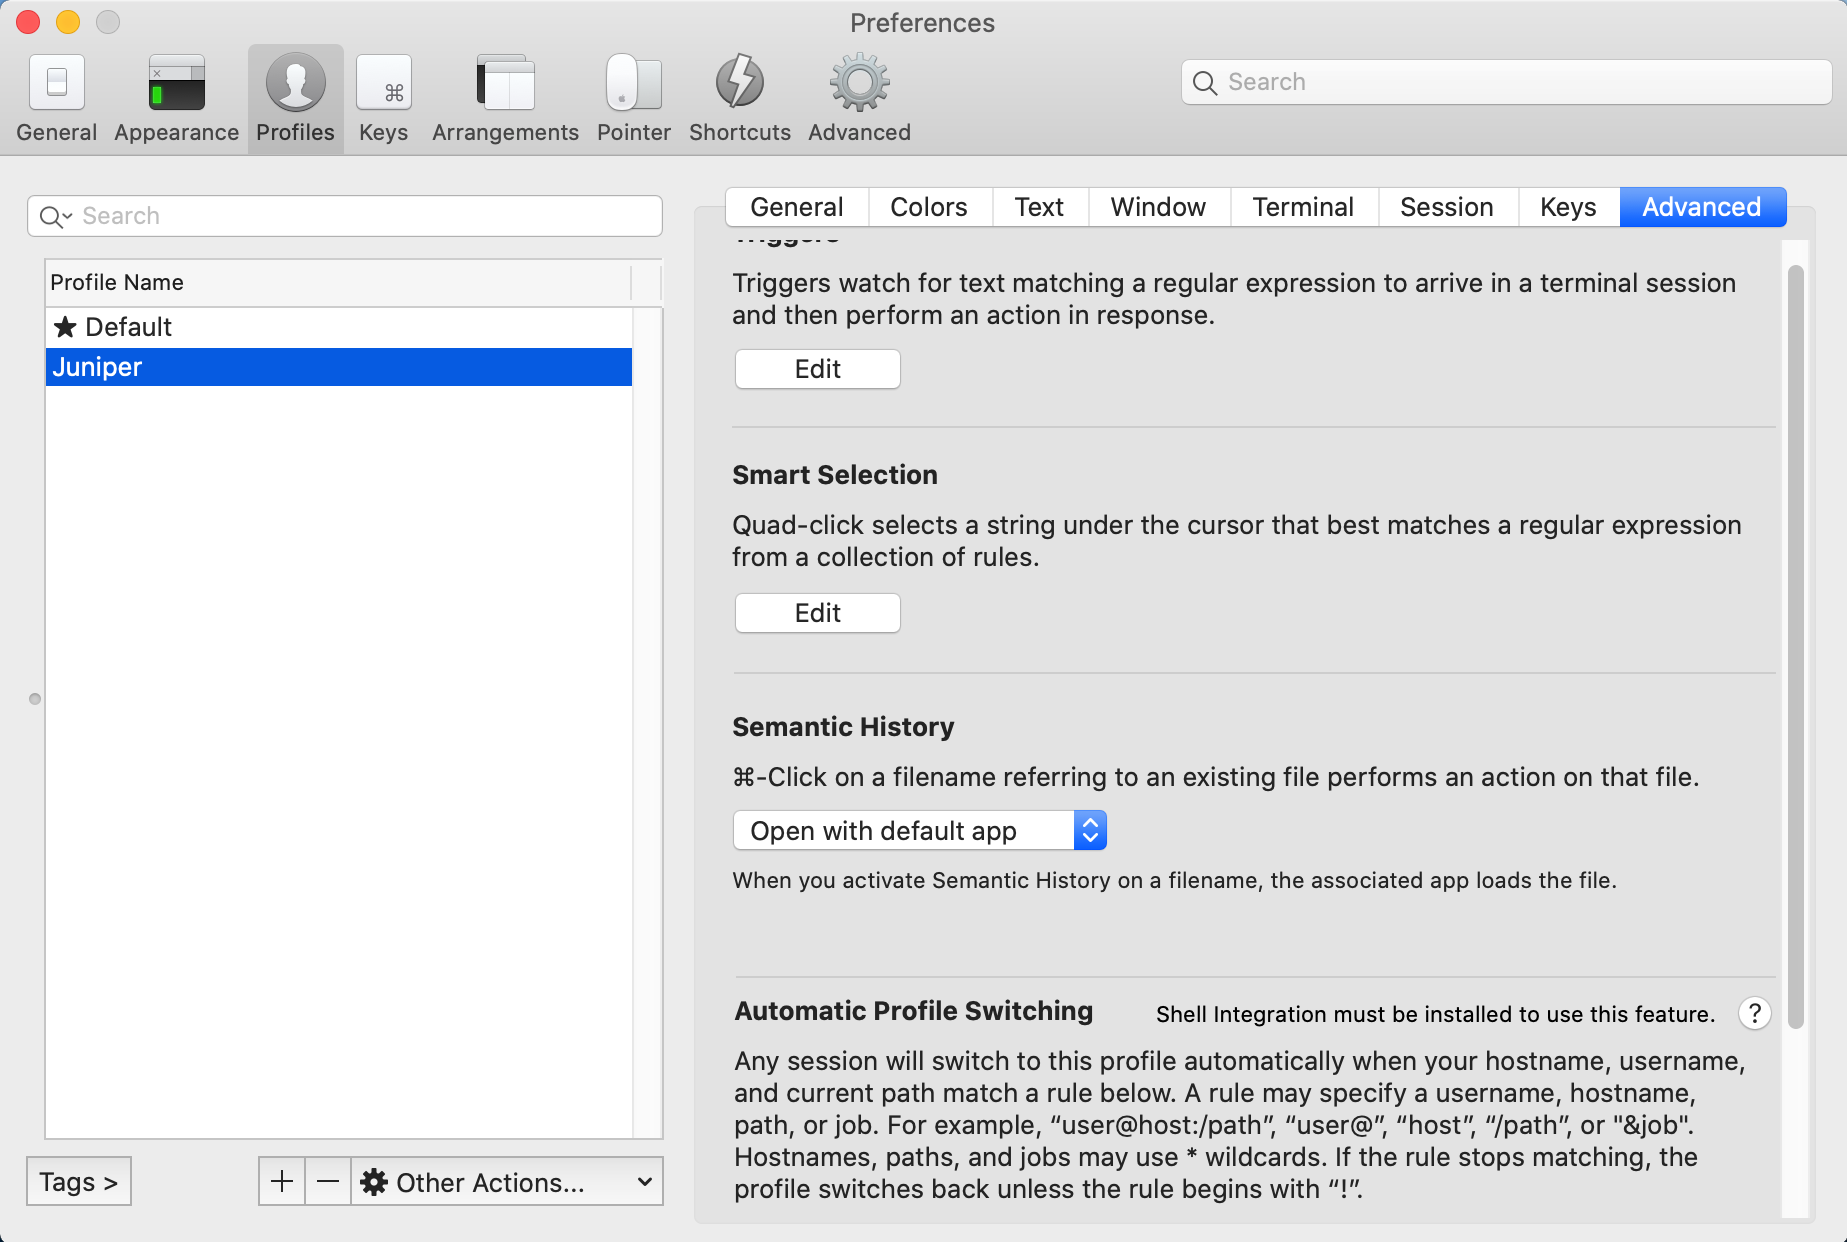
For the automatic profile switching, there is a note that says it only works
if you have shell integration installed. This is not strictly true. If you
have other means of reporting strings like user@host, you don’t need to have
the shell integration installed. This is good news, installing shell
integration on a router is a non sequitur.
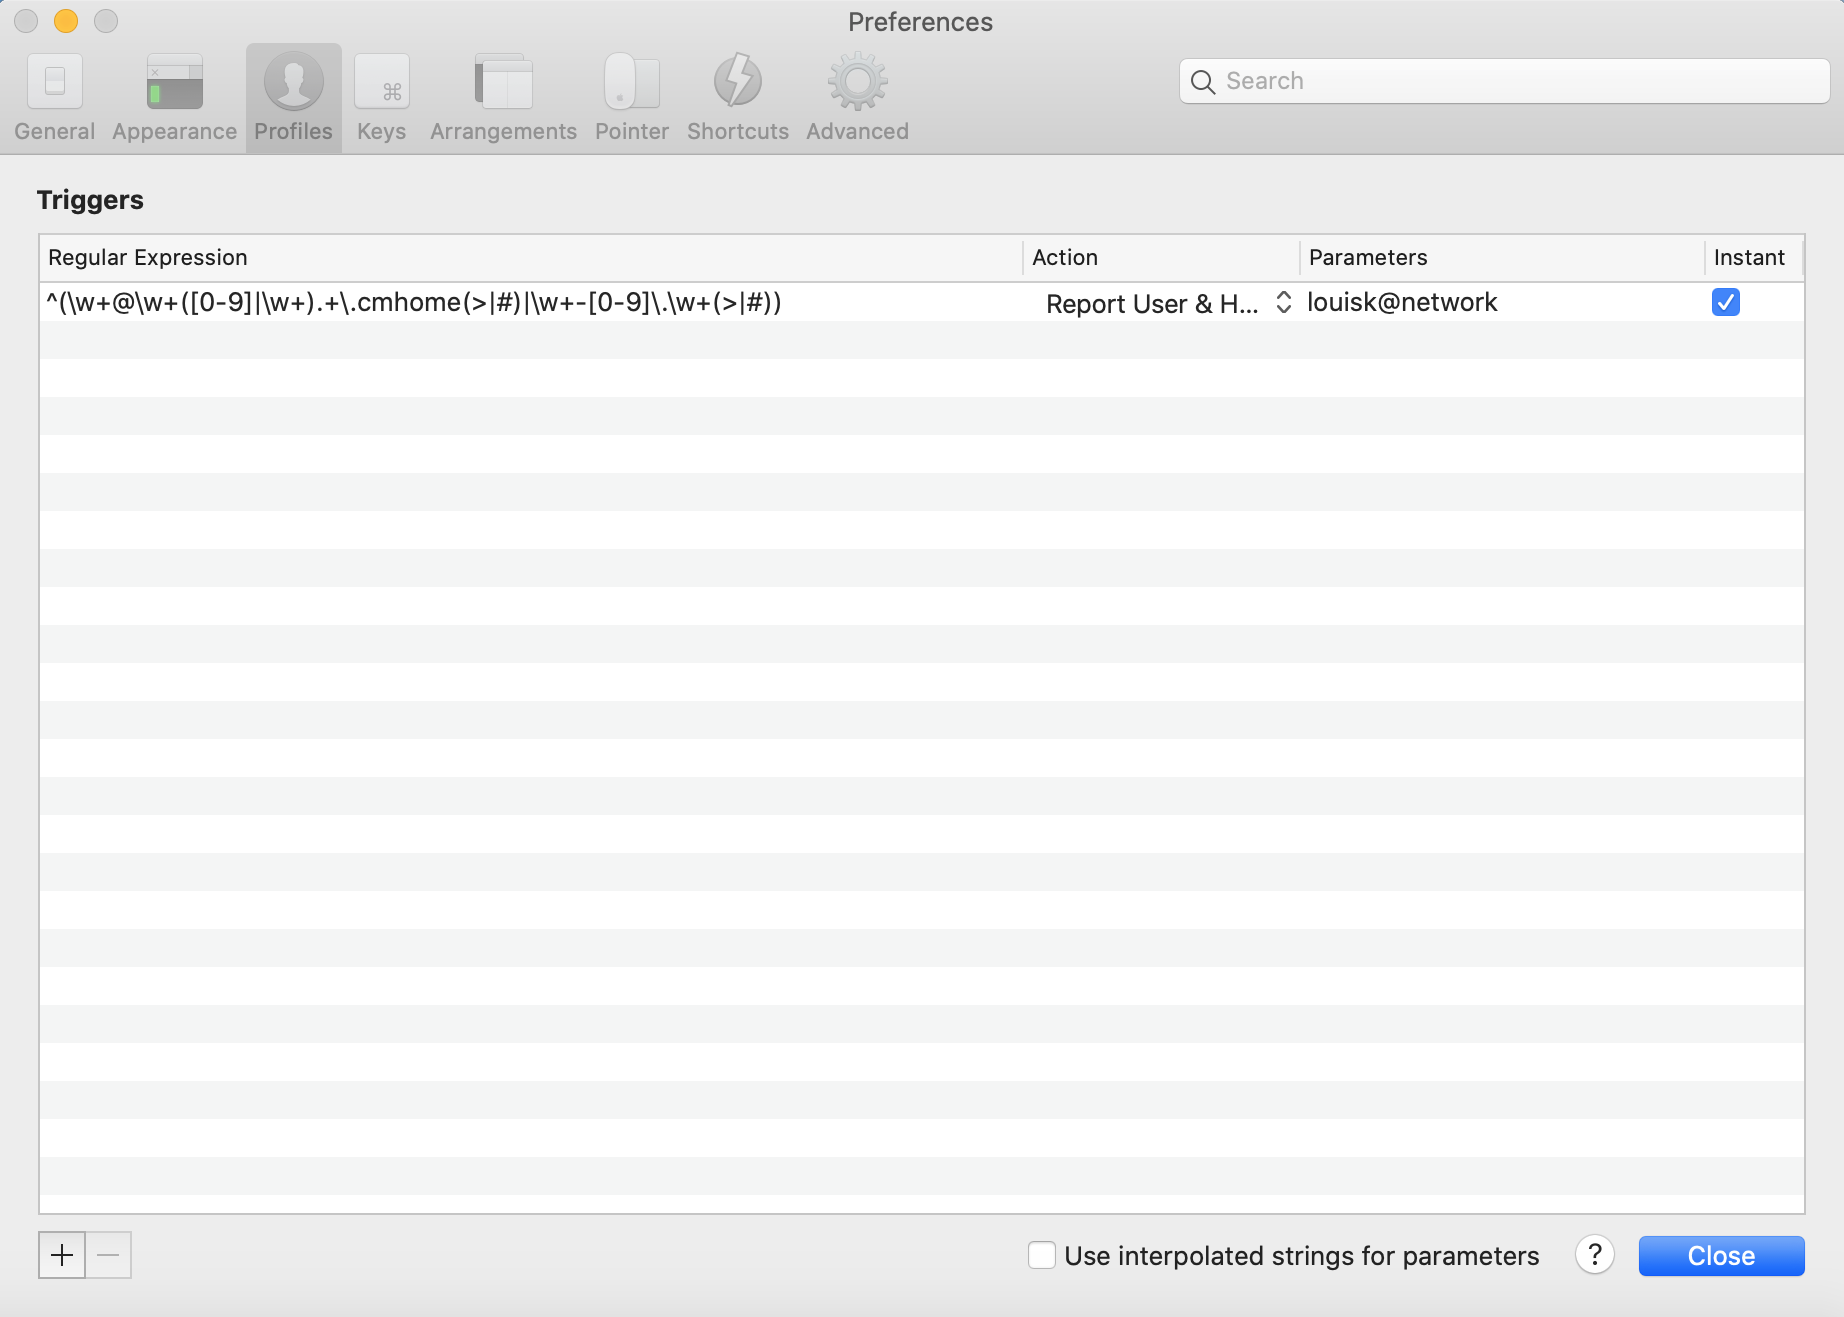
I picked a user@host string that is unlikely to be defined anywhere in a
real environment. Now, I can move back to the default profile and setup the
trigger that will cause the profile to switch to the newly created Network
Profile.
iTerm Triggers
The official iTerm documentation for triggers.
This is where we’ll get into the regular expressions. We will need to define
an expression that will match properly for all of our network devices. If you
have more than a single vendor, this gets complicated. Not all the strings
look the same. For example, Dell (also Cisco, and Brocade, and probably
others) look like this: hostname> or hostname#. Juniper looks like this:
user@hostname> or user@hostname#.
Even if you used a fully qualified hostname, they aren’t same. This means we’ll need a pattern that is capable of matching multiple patterns.
Start with a simple pattern first, and get that working. For example
^\w+\.example\.com>. This will match a pattern like router.example.com>.
If we want to add an additional expression to match something else, we could
do (crudely speaking) (expression1|expression2). An example could be
(\w+@\w+\.example\.com>|\w+\.example\.com>). This would match either
router.example.com> or user@router.example.com>.
OK, now what about the part where the prompt changes between different modes
of operation? We can use the grouping again, like this
\w+\.example\.com(>|#).
This will match either > or #. Now our expression would look like
(\w+@\w+\.example\.com>|\w+\.example\.com>)(>|#).
Once we have our expression, we just have to report the user@host variable
so iTerm can switch our profile.
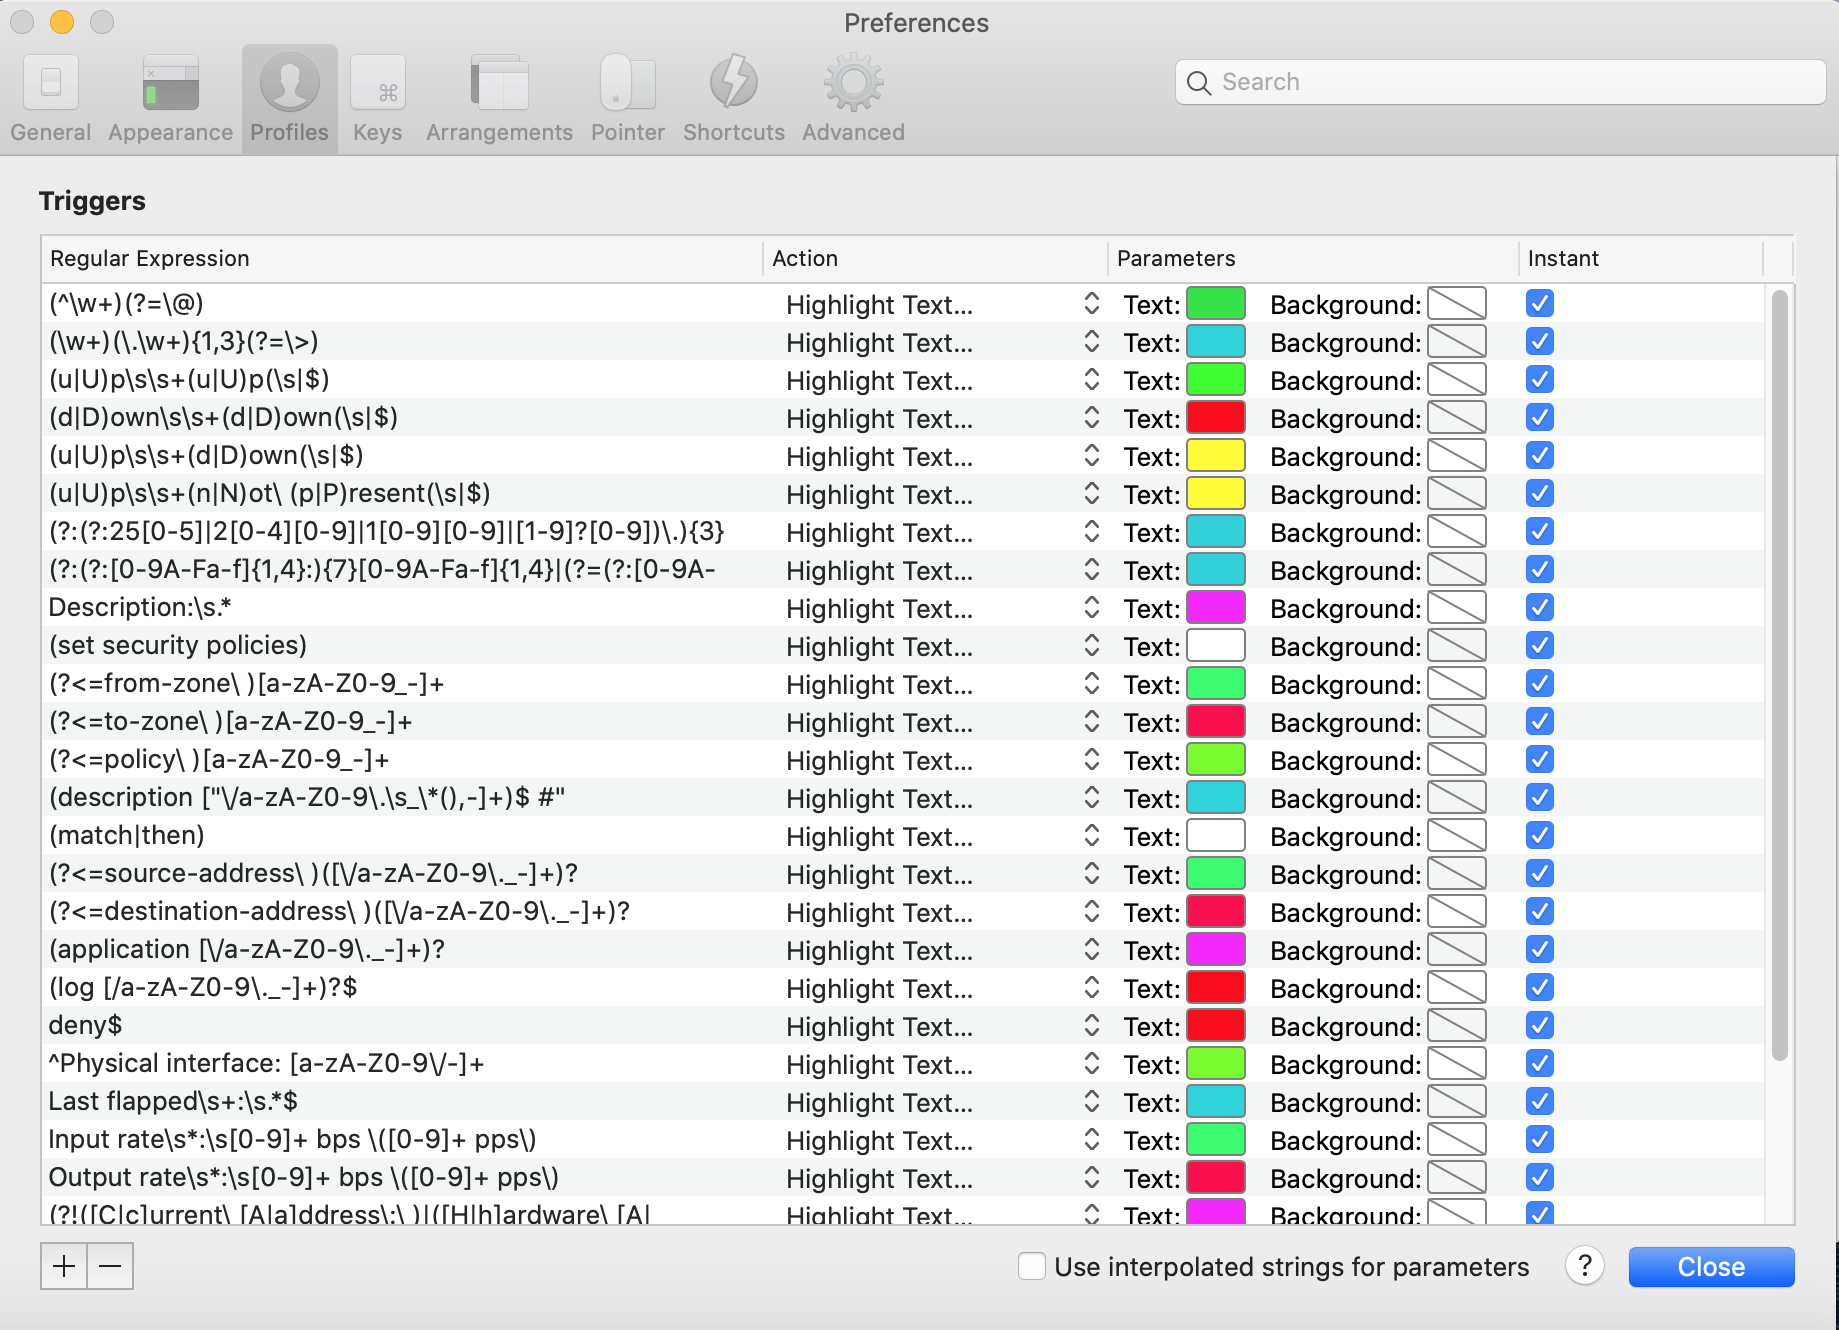
The second trigger is much simpler. We just want to match on the words up or
down, and set the text color. This will be 2 different expressions, because
the color is unique for each word. Don’t forget to take into account case
sensitivity.
Once you have your expression worked out, you can choose an action of ‘Hightlight Text’, and pick the colors you want. I chose to set the text color and have the background transparent/no color.
Download Profile
If you like the colors you see in the gallery, you can download the following:
- Juniper profile
- Force10 profile (this probably mostly works with cisco/brocade/etc)


Comments