This covers the setup of h2o, PHP, phpPgAdmin, and PostfixAdmin.
Configuring h2o/php-fpm
I first started using h2o because I wanted something that supported HTTP/2 (shortly after the standard was approved) and neither nginx nor apache offered anything that was not “development”. I very much like the simplicity of its configuration, light resource footprint, and responsive behavior. Documentation for h2o .
Getting this setup for serving up our mail related sites is really easy. We need to add 2 bits to the h2o.conf file (if you want to read about security for h2o , Calomel h2o has a great writeup). The config file is yaml, and sensitive to spacing. If you get errors on startup, don’t forget to check the spacing of things.
The first section is:
 1# php-fpm
 2file.custom-handler:
 3  extension: .php
 4  fastcgi.connect:
 5    host: 127.0.0.1
 6    port: 9000
 7    type: tcp
 8
 9# Directory Index
10file.index: [ 'index.php', 'index.html' ]
This takes care of not only handing all the php(1) files to php-fpm, but also defining index.php as an optional index file.
The second section is the paths we want to make available to run our applications. There are several: phpPgAdmin, PostfixAdmin, policyd, and Roundcube.
I’ve defined 2 “hosts” here. The first accepts traffic on port 80, sends back a 301 redirect to the same host, but port 443 (which is SSL encrypted). You might be wondering why not include the HSTS header with the redirect, so the browser would know to only use HTTPS. The browser won’t trust an HSTS header unless its sent over HTTP. Otherwise it could be altered in transit. The section looks like this:
 1# A+ on https://securityheaders.io/
 2header.add: "x-frame-options: deny"
 3header.add: "X-XSS-Protection: 1; mode=block"
 4header.add: "X-Content-Type-Options: nosniff"
 5header.add: "X-UA-Compatible: IE=Edge"
 6header.add: "Referrer-Policy: strict-origin"
 7header.add: "Cache-Control: no-transform"
 8header.add: "Content-Security-Policy: default-src https:"
 9
10# per-host configuration
11hosts:
12    "mx.cryptomonkeys.com:80":
13      listen:
14        port: 80
15      paths:
16        /:
17          redirect:
18            status: 301
19            url: https://mx.cryptomonkeys.com/
20    "mx.cryptomonkeys.com:443":
21        header.add: "strict-transport-security: max-age=31556926; preload"
22        listen:
23          port: 443
24          ssl:
25            certificate-file: /usr/local/etc/ssl/server.crt
26            key-file: /usr/local/etc/ssl/server.key
27            dh-file: /usr/local/etc/ssl/dh2048.pem
28            cipher-preference: server
29            cipher-suite: ECDHE-RSA-CHACHA20-POLY1305:ECDHE-RSA-AES128-GCM-SHA256:ECDHE-ECDSA-AES128-GCM-SHA256:ECDHE-RSA-AES256-GCM-SHA384:ECDHE-ECDSA-AES256-GCM-SHA384:DHE-RSA-AES128-GCM-SHA256:DHE-DSS-AES128-GCM-SHA256:kEDH+AESGCM:ECDHE-RSA-AES128-SHA256:ECDHE-ECDSA-AES128-SHA256:ECDHE-RSA-AES128-SHA:ECDHE-ECDSA-AES128-SHA:ECDHE-RSA-AES256-SHA384:ECDHE-ECDSA-AES256-SHA384:ECDHE-RSA-AES256-SHA:ECDHE-ECDSA-AES256-SHA:DHE-RSA-AES128-SHA256:DHE-RSA-AES128-SHA:DHE-DSS-AES128-SHA256:DHE-RSA-AES256-SHA256:DHE-DSS-AES256-SHA:DHE-RSA-AES256-SHA:!aNULL:!eNULL:!EXPORT:!DES:!RC4:!3DES:!MD5:!PSK
30            minimum-version: TLSv1.2
31        paths:
32            "/ppa":
33                file.dir: "/usr/local/www/phpPgAdmin"
34            "/pfa":
35                file.dir: "/usr/local/www/postfixadmin"
36            "/policyd":
37                mruby.handler: |
38                  require "#{$H2O_ROOT}/share/h2o/mruby/htpasswd.rb"
39                  Htpasswd.new("/usr/local/www/policyd/.htpasswd", "realm-name")
40                file.dir: "/usr/local/www/policyd"
41            "/webmail":
42                file.dir: "/usr/local/www/roundcube"
I’ve set the minimum version of TLS to be 1.2. As long as you have a relatively recently version of a popular browser, you should be fine with this. I’ve also restricted the ciphers to what can be found on Mozilla’s Security/Server Side TLS under the moniker ‘modern’.
Now we need to create the .htpasswd file in the policyd directory. If you have a system with apache, you can use the included utility. If you are just testing things, you can use this web based htpasswd generator .
Now we can create a php.ini file. In /usr/local/etc/, copy the production one.
1cp php.ini-production php.ini
Now edit the php.ini and set the date/timezone. If you run lots of servers, I’d suggest UTC. Also, here are some security best practices:
 1open_basedir = /usr/local/www
 2expose_php = Off
 3memory_limit = 8M
 4error_log = syslog
 5post_max_size = 256K
 6sys_temp_dir = "/var/php_tmp"
 7upload_tmp_dir = /var/php_tmp
 8upload_max_filesize = 20M
 9allow_url_fopen = Off
10date.timezone = UTC
11sql.safe_mode = On
12session.save_path = "/var/php_tmp"
I’ve left the upload at 20M because I want people to be able to attach things in webmail. If its larger than 20M, it doesn’t belong in email.
Don’t forget to create /var/php_tmp and set the proper permissions:
1mkdir /var/php_tmp
2chmod 1777 /var/php_tmp
Now we can run:
1sudo sysrc h2o_enable=YES
2sudo sysrc php_fpm_enable=YES
to /etc/rc.conf. Once this is done, you can run:
1sudo service php-fpm start && sudo service h2o start
You should be able to see both in the ps(1) output. It should look something like this:
1[louisk@mx louisk 44 ]$ ps ax | egrep 'php|h2o'
2 758  -  I      0:00.03 /usr/local/bin/perl -x /usr/local/share/h2o/start_server --pid-file=/var/run/h2o.pid --log-f
3 759  -  I      0:01.45 /usr/local/bin/h2o -c /usr/local/etc/h2o/h2o.conf
41037  -  Ss     0:00.62 php-fpm: master process (/usr/local/etc/php-fpm.conf) (php-fpm)
52210  -  I      0:04.44 php-fpm: pool www (php-fpm)
65623  -  I      0:01.32 php-fpm: pool www (php-fpm)
76304  -  I      0:00.26 php-fpm: pool www (php-fpm)
88356  3  S+     0:00.00 egrep php|h2o
9[louisk@mx louisk 45 ]$
You can also check for open sockets with:
 1[louisk@mx louisk 48 ]$ sockstat -46l | egrep 'php|h2o'
 2www      php-fpm    6304  0  tcp4   127.0.0.1:9000        *:*
 3www      php-fpm    5623  0  tcp4   127.0.0.1:9000        *:*
 4www      php-fpm    2210  0  tcp4   127.0.0.1:9000        *:*
 5root     php-fpm    1037  8  tcp4   127.0.0.1:9000        *:*
 6www      h2o        759   5  tcp6   *:80                  *:*
 7www      h2o        759   6  tcp4   *:80                  *:*
 8www      h2o        759   7  tcp6   *:443                 *:*
 9www      h2o        759   8  tcp4   *:443                 *:*
10www      h2o        759   15 tcp6   *:80                  *:*
11www      h2o        759   16 tcp4   *:80                  *:*
12www      h2o        759   17 tcp6   *:443                 *:*
13www      h2o        759   18 tcp4   *:443                 *:*
14[louisk@mx louisk 49 ]$
In case you’re wondering, the config below is HTTP/2 compliant and modern browsers will access the site via HTTP/2.
 1# vi: ft=yaml
 2# to find out the configuration commands, run: h2o --help
 3user: www
 4pid-file: /var/run/h2o.pid
 5access-log: /var/log/h2o/h2o-access.log
 6error-log: /var/log/h2o/h2o-error.log
 7# php-fpm
 8file.custom-handler:
 9  extension: .php
10  fastcgi.connect:
11    host: 127.0.0.1
12    port: 9000
13    type: tcp
14
15# Directory Index
16file.index: [ 'index.php', 'index.html' ]
17
18file.dirlisting: off
19
20# per-host configuration
21hosts:
22    "mx.cryptomonkeys.com:80":
23      listen:
24        port: 80
25      paths:
26        /:
27          redirect:
28            status: 301
29            url: https://mx.cryptomonkeys.com/
30    "mx.cryptomonkeys.com:443":
31        header.add: "strict-transport-security: max-age=31556926; preload"
32        listen:
33          port: 443
34          ssl:
35            certificate-file: /usr/local/etc/ssl/server.crt
36            key-file: /usr/local/etc/ssl/server.key
37            dh-file: /usr/local/etc/ssl/dh2048.pem
38            cipher-preference: server
39            cipher-suite: ECDHE-RSA-CHACHA20-POLY1305:ECDHE-RSA-AES128-GCM-SHA256:ECDHE-ECDSA-AES128-GCM-SHA256:ECDHE-RSA-AES256-GCM-SHA384:ECDHE-ECDSA-AES256-GCM-SHA384:DHE-RSA-AES128-GCM-SHA256:DHE-DSS-AES128-GCM-SHA256:kEDH+AESGCM:ECDHE-RSA-AES128-SHA256:ECDHE-ECDSA-AES128-SHA256:ECDHE-RSA-AES128-SHA:ECDHE-ECDSA-AES128-SHA:ECDHE-RSA-AES256-SHA384:ECDHE-ECDSA-AES256-SHA384:ECDHE-RSA-AES256-SHA:ECDHE-ECDSA-AES256-SHA:DHE-RSA-AES128-SHA256:DHE-RSA-AES128-SHA:DHE-DSS-AES128-SHA256:DHE-RSA-AES256-SHA256:DHE-DSS-AES256-SHA:DHE-RSA-AES256-SHA:!aNULL:!eNULL:!EXPORT:!DES:!RC4:!3DES:!MD5:!PSK
40            minimum-version: TLSv1.2
41        paths:
42            "/ppa":
43                file.dir: "/usr/local/www/phpPgAdmin"
44            "/pfa":
45                file.dir: "/usr/local/www/postfixadmin"
46            "/webmail":
47                file.dir: "/usr/local/www/roundcube"
48            "/policyd":
49                file.dir: "/usr/local/www/policyd"
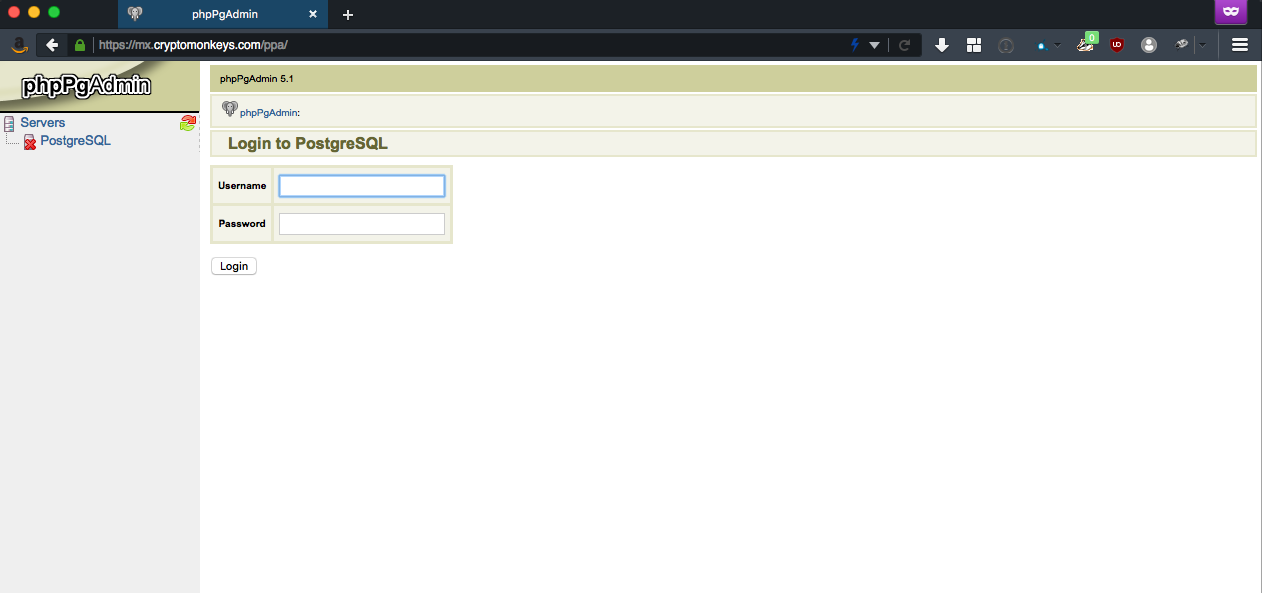
Configuring phpPgAdmin
This component is optional. If you are comfortable using psql(1) to manipulate the databases, there is no need to install this. If you choose to skip it, don’t forget to remove the appropriate lines from the h2o.conf and restart h2o.
You can find documentation for phpPgAdmin here .
By default, phpPgAdmin installs bits into /usr/local/www/phpPgAdmin (web root). The config is pretty basic. I only had to modify things in the top dozen or two lines.
1$conf['servers'][0]['host'] = 'localhost';
2$conf['servers'][0]['port'] = 5432;
3$conf['servers'][0]['sslmode'] = 'require';
Now you should be able to point your browser at your webserver (https://my-ip/ppa/), and get something that looks similar to this:
Configuring PostfixAdmin
PostfixAdmin is the easy way for people to control virtual users and domains. Privlidges are assignable by domain so you can give somebody free reign over their own domain(s) if you wish. Documentation for PostfixAdmin .
PostfixAdmin defaults the install to /usr/local/www/postfixadmin. We need to edit the config.inc.php file first. I’ve made the following changes (to existing lines/entries):
 1...
 2$CONF['configured'] = true;
 3$CONF['setup_password'] = 'winkle-snicker';
 4$CONF['database_type'] = 'pgsql';
 5$CONF['database_host'] = 'localhost';
 6$CONF['database_user'] = 'postfix_admin';
 7$CONF['database_password'] = 'password';
 8$CONF['database_name'] = 'postfix_admin';
 9...
10$CONF['admin_email'] = 'admins@cryptomonkeys.com';
11...
12$CONF['default_aliases'] = array (
13    'abuse' => 'abuse@cryptomonkeys.com',
14    'hostmaster' => 'hostmaster@cryptomonkeys.com',
15    'postmaster' => 'postmaster@cryptomonkeys.com',
16    'webmaster' => 'webmaster@cryptomonkeys.com'
17);
18...
19$CONF['vacation'] = 'YES';
20$CONF['vacation_domain'] = 'autoreply.cryptomonkeys.com';
Now, its time to add a postfix database and user to Postgres. Connect with psql and type in:
1CREATE ROLE postfix_admin WITH LOGIN ENCRYPTED PASSWORD 'winkle-snicker';
2CREATE DATABASE postfix_admin WITH OWNER = postfix_admin;
Once you have these bits set, you should be able to point your browser at https://my-ip/pfa/setup.php and get something that looks similar to this:
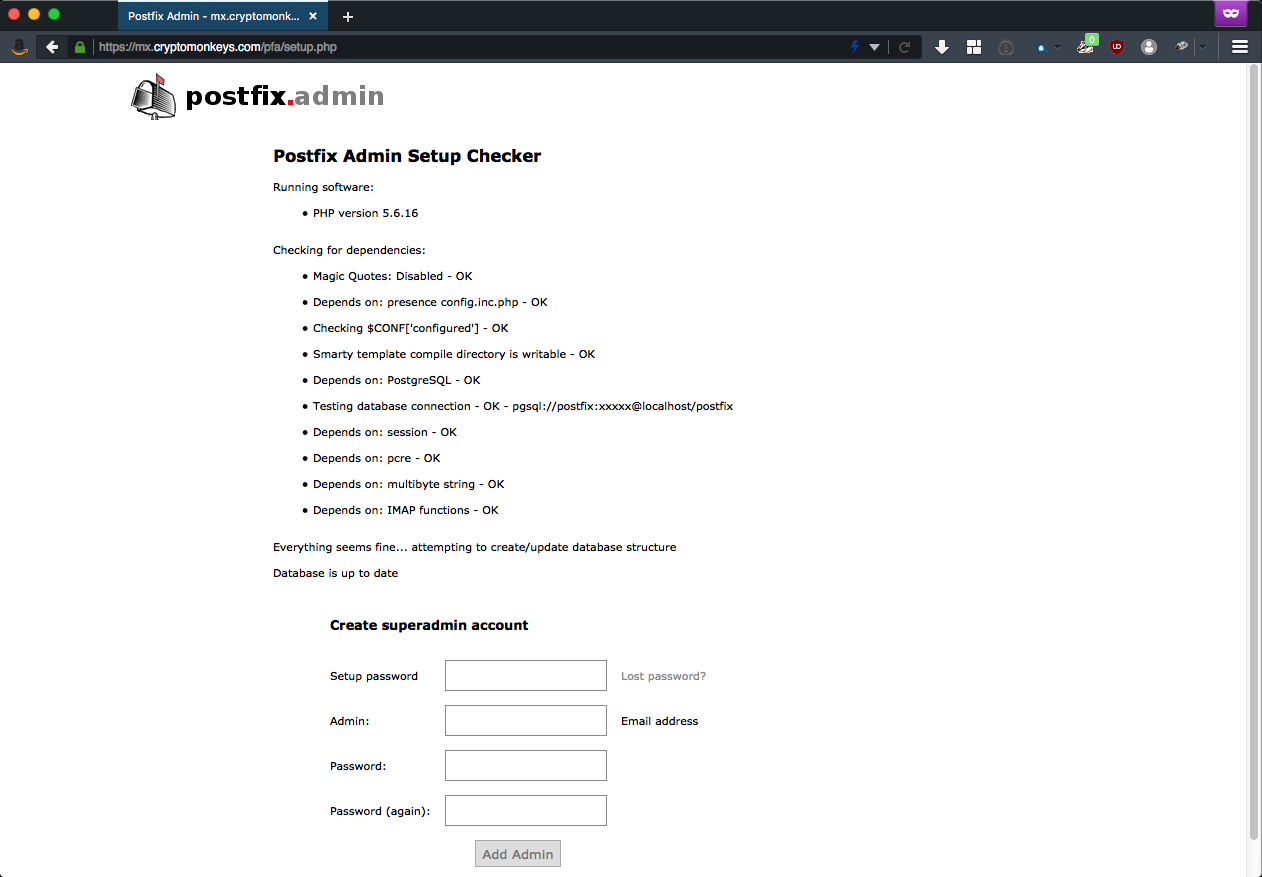
Come up with a “setup password” and admin credentials. Then you can re-point your browser at https://my-ip/pfa/, and get something that looks similar to this:
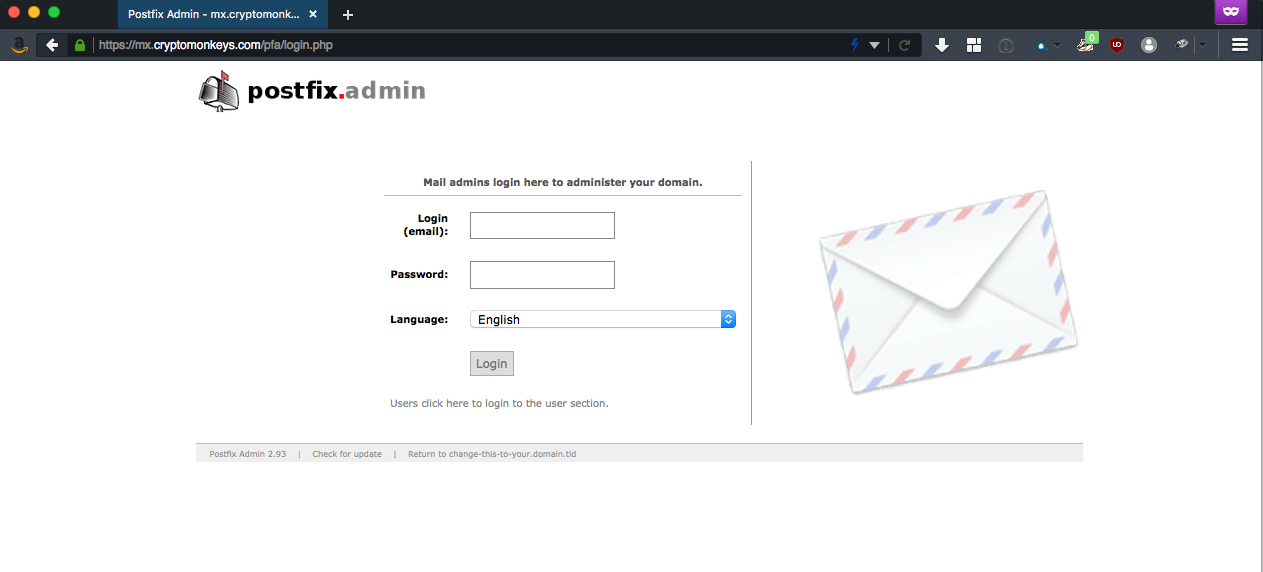
You should be able to login to PostfixAdmin and create domains, users, and aliases. They take effect immediately.
NOTE: If you wish to convert from MySQL to PostgreSQL (insert plenty of comments about the one true database), you will need to do a little dirty work. Its not terribly complicated, but it is a manual process.
Start by dumping the postfix database from mysql(1).
1mysqldump --compatible=postgresql dbname > export.sql
You will need to make some edits to this (I creatively called mine postfix.sql) before you can import it into PostgreSQL.
- At the top of the document, I inserted the following lines so I could run the script more than once as I was working through it.
1TRUNCATE TABLE admin CASCADE;
2TRUNCATE TABLE alias CASCADE;
3TRUNCATE TABLE config CASCADE;
4TRUNCATE TABLE domain CASCADE;
5TRUNCATE TABLE domain_admins CASCADE;
6TRUNCATE TABLE mailbox CASCADE;
- All of the stanzas that are in the category of “table structure” get deleted
- For each line that starts with ‘INSERT INTO’, remove all of the backquotes (`) and single quotes (’)
- All of the boolean values need to be converted from ‘0’ or ‘1’, into ’true’ or ‘false’
- Reordering of the tables that we insert into (because we have foreign key dependancies that must be met to succeed. The order is as follows:
Mailbox table is slightly reordered. Must be changed for every insert-entry. Order matters here for foreign keys to work properly.
1. admin
2. config
3. domain
4. domain_admins
5. mailbox
6. alias
You will have to recreate your superadmin in postfixadmin. Delete the entry in admins, and domain_admins, and then re-add through postfixadmin. W/o this process, it will tell you it already exists.

Comments