Sometimes, people think that installing an operating system is complicated, or scary.
There can be a lot of choices to make during the process, and not knowing what the implications mean can be stressful. This post walks through doing a simple FreeBSD install in a virtual machine. Why a virtual machine? Its a great place to learn how systems work, in a situation that won’t mess up the system you need to work on. If you are budget concious, check out VirtualBox . If you are willing to pay for something (and get support), both VMware’s Workstation (Windows), or Fusion (Mac) are solid choices.
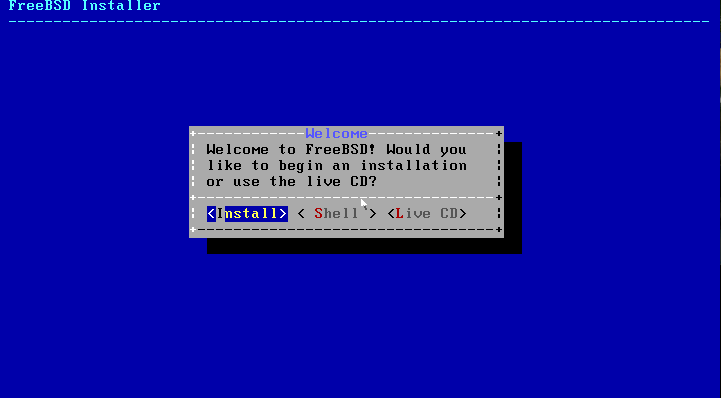
FreeBSD Installation
Some of these things are probably self evident. I’ll try to talk about the ones that introduce complexity or non-obvious options.
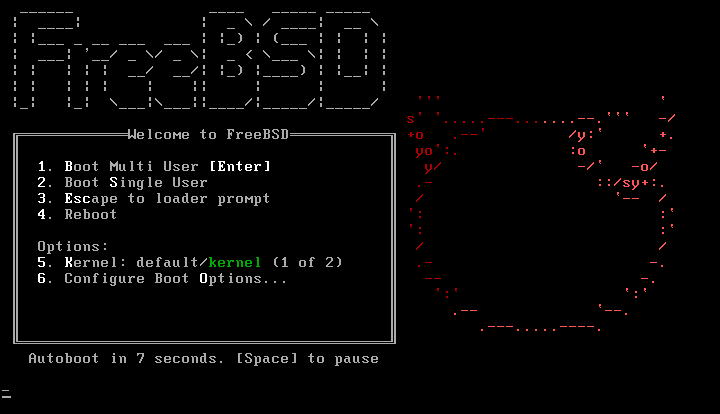
Bootup, keymap, and hostname
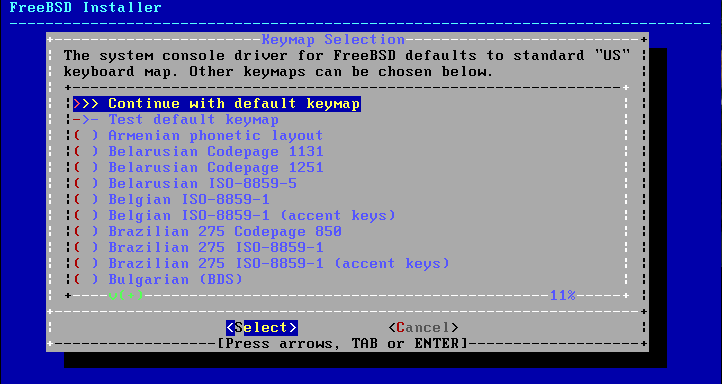
I’ve never needed a different keymap, but choose the one which matches the language you wish to use.
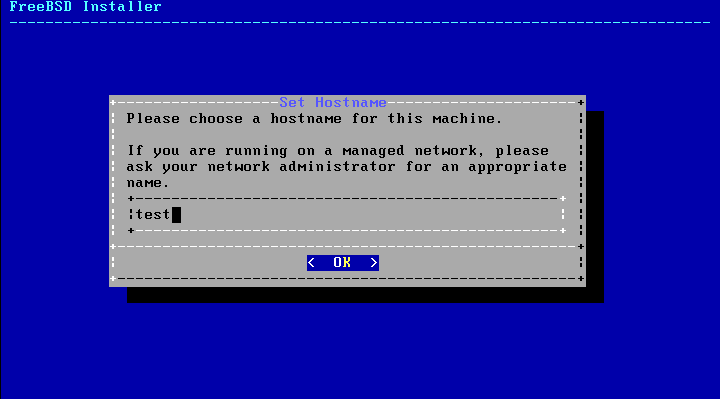
Pick something you like. It doesn’t really matter what the name of the host is. DNS is capable of mapping all manner of names to the same system. Also, if you want to change it later, you can.
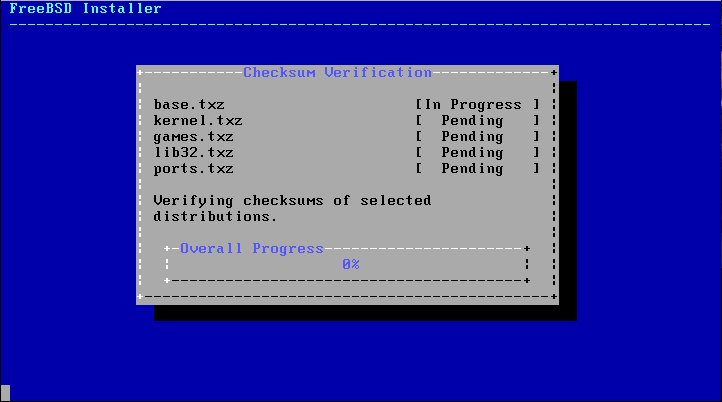
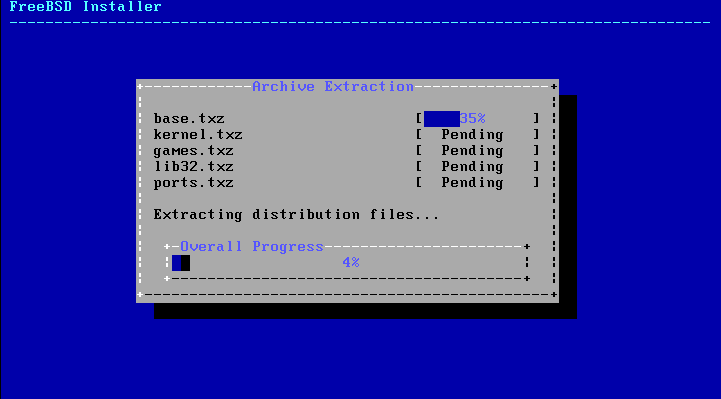
Distribution
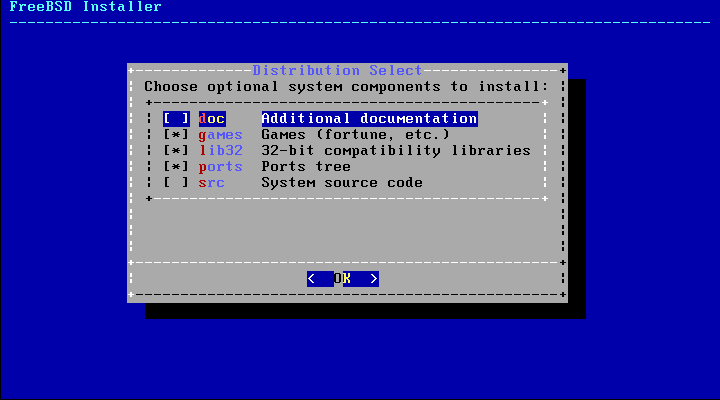
This section is where you choose which things you’d like to install. If you’re
just beginning, I’d suggest that you select the docs choice as well as the
other 3 that make up the defaults games, lib32, ports. Games
is console games (not graphical). lib32 is 32-bit compatibility libraries. If
you aren’t sure, go ahead and install it. It won’t hurt anything. Ports is how
people have traditionally installed 3rd party software in FreeBSD (recently the
pkg system has been revamped and now is the preferred way of installing packages
that don’t have special compile-time requirements). I typically don’t check the
src box. There are many ways of getting FreeBSD src after the system is up
and running, and there is no real advantage in having it installed at the very
beginning. Learning how to use FreeBSD doesn’t require access to the source, and
if you wish to rebuild the system from source, that’s a more advanced topic than
just making it through the installer.
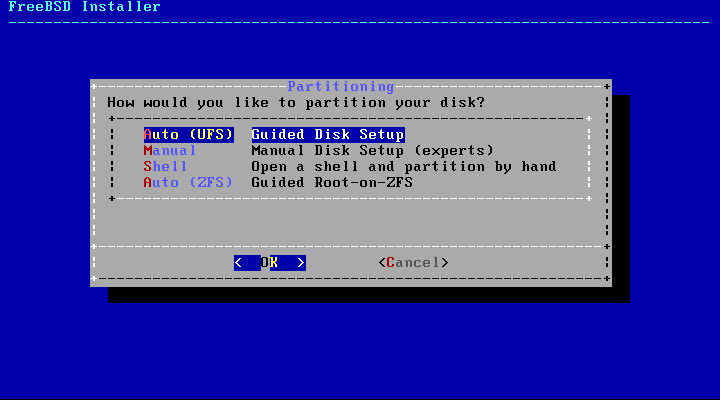
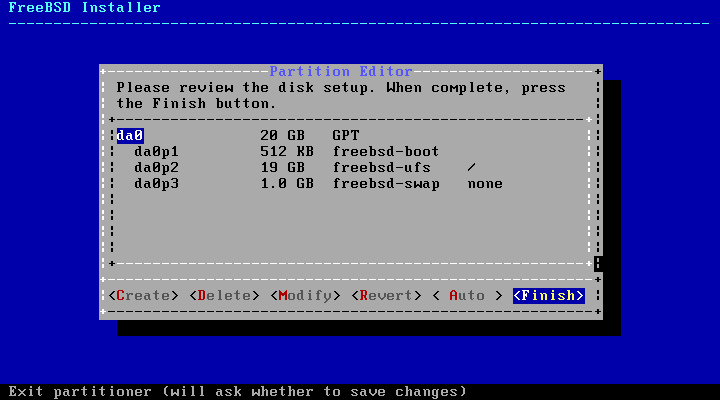
Disk partitioning and formatting
Most people don’t ever have to deal with either partitioning or formatting a disk. They buy a computer, it already has an Operating System on it, and maybe even software preloaded. There are a number of reasons to partition or format a disk, but for this exercise, the reason is that it’s currently empty. Partitioning a disk is another way of saying “carve it into logical chunks”. Kind of like putting pillows on a couch to divide it into different spaces. By default, FreeBSD will carve the disk into 3 chunks. Partition 1 is small and only contains the necessary files for booting. Partition 2 is where we will store the operating system, and any 3rd party software we wish to have installed. Partition 3 is for swap space. Swap space is another name for virtual memory. Computers use virtual memory to help them run more applications at once, by temporarily storing things on the disk instead of in RAM.
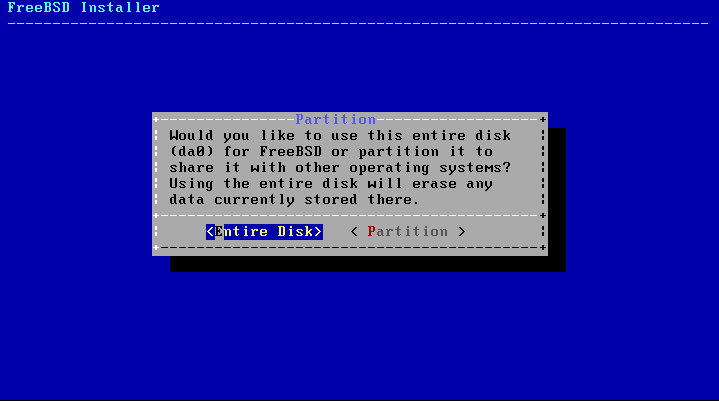
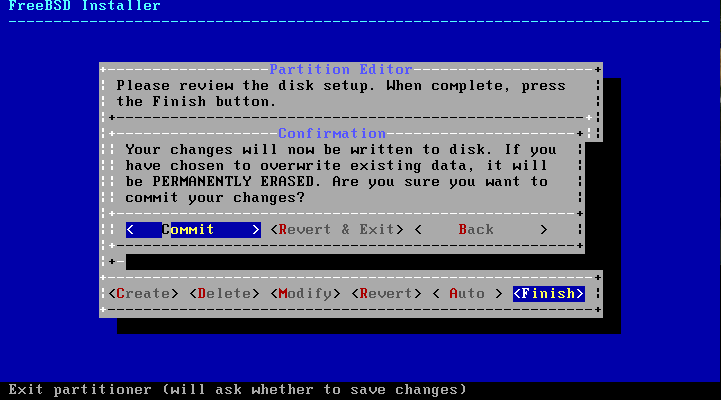
It should be noted that if you’re doing an install of FreeBSD onto a disk that currently has data on it, you should be careful. If you make the wrong choices, you could wipe out all the data on the disk (good reason to have backups). Exactly how to install FreeBSD onto a disk that already has an Operating System on it is not covered in this article.
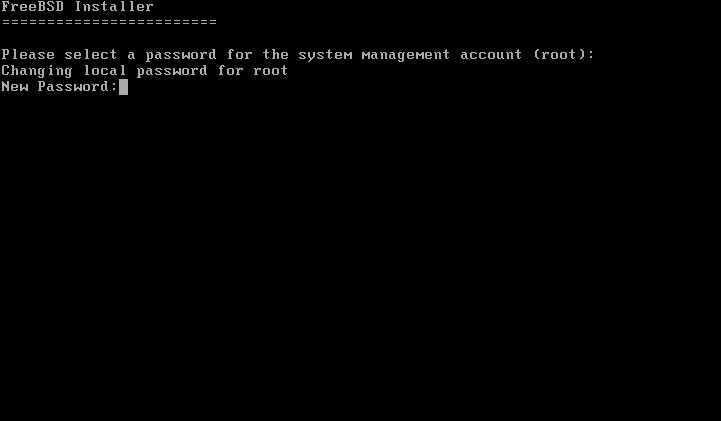
Root password
Pick a good password (if for no other reason than to get in practice). If you need to write it down, use a password manager (1Password , Lastpass , KeePassX ), or simply GPG/PGP encrypt a text file (there are solutions like pass that are essentially wrappers for GPG that do exactly that). I like passwords that are about 14 chars long, use upper and lower case, and have punctuation and symbols in them.
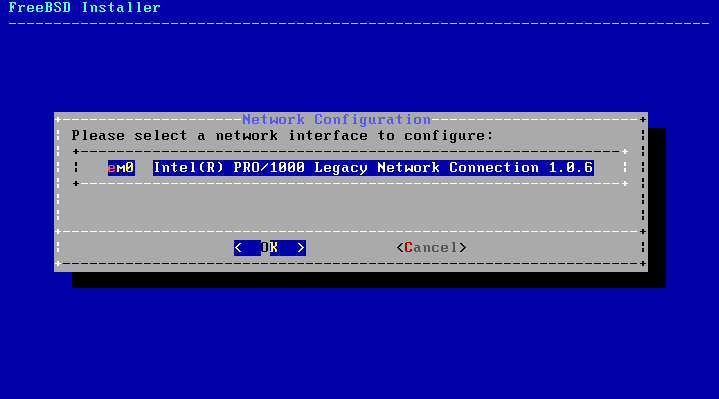
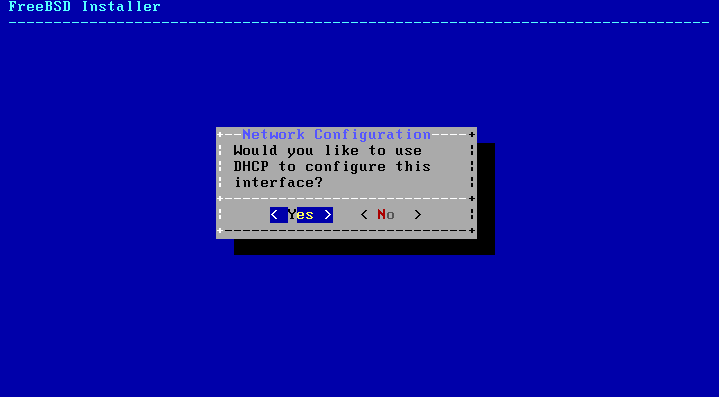
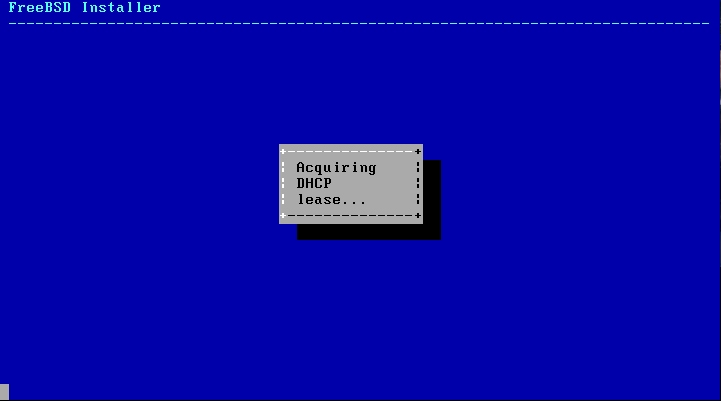
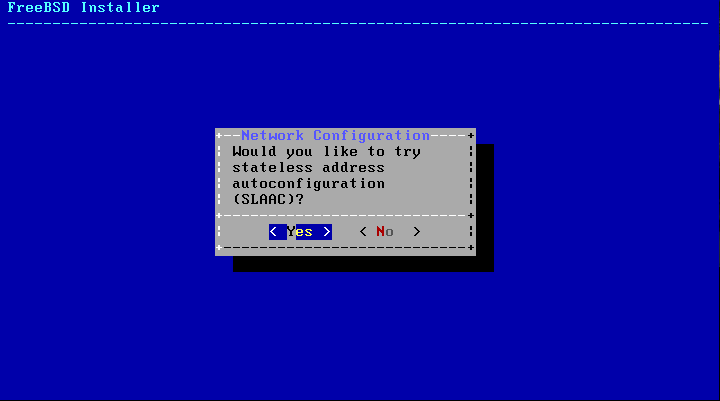
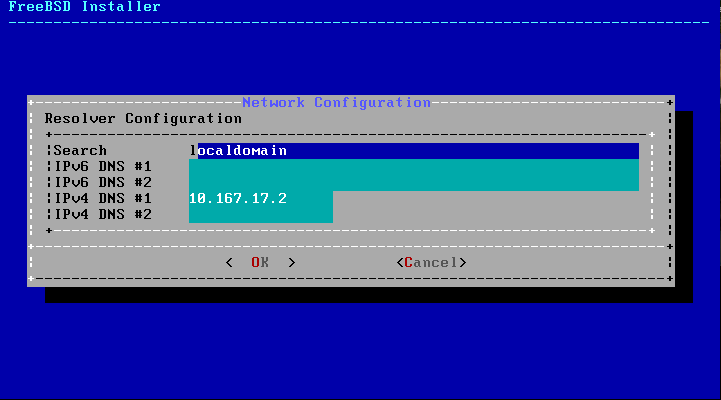
Network Configuration
Some of this you can skip if you’re not utilizing IPv6 (If you don’t know what IPv6 is, you can certainly ignore these parts). Typically, you will get your DNS entry from your router, so you shouldn’t have to fill this in.


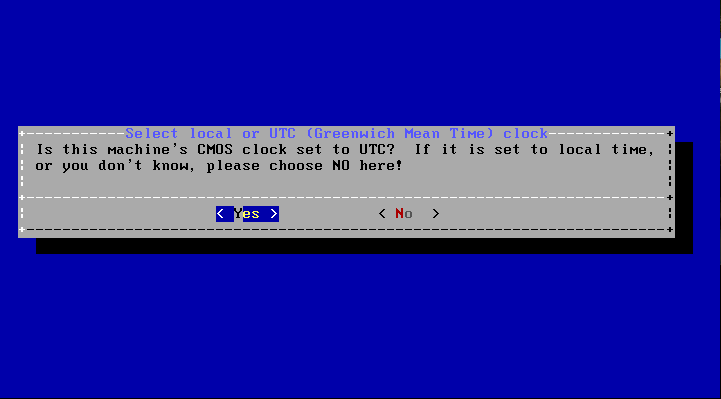
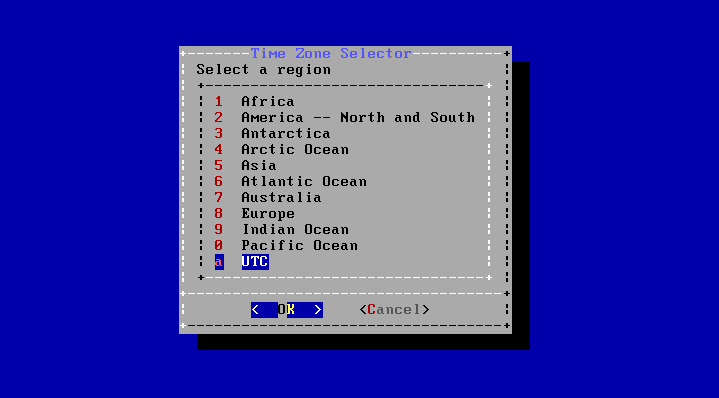
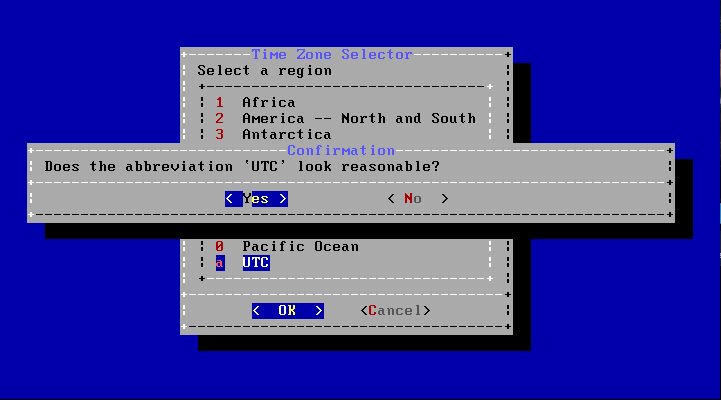
Time
I like to use UTC for my servers. It makes it easy when I agregate logs from machines in different timezones (I don’t have to account for different offsets when I’m looking for correlations of what happened when). If you won’t have machines in different timezones, I’d suggest you use the timezone that matches your local time.
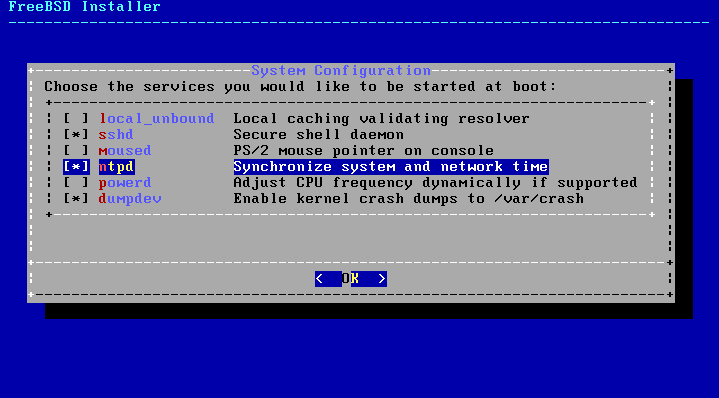
System service selection
By default, you’ll see SSH and dumpdev enabled. I have yet to find a reason not
to use NTP, so I enable it. It allows me to synchronize time with other systems
on the network (frequently networks will have a host that acts as a timeserver,
so all the systems on a network can ensure they have the same time). If you need
a local caching DNS server (for example, if you’re going to be running a service
that will be doing lots of DNS queries, email server perhaps), go ahead and check
local_unbound.
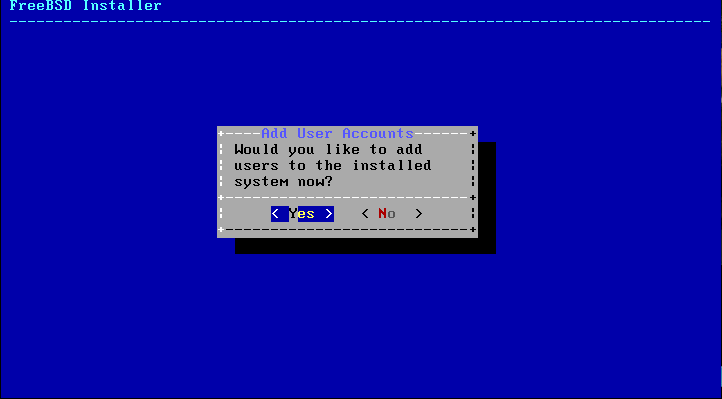
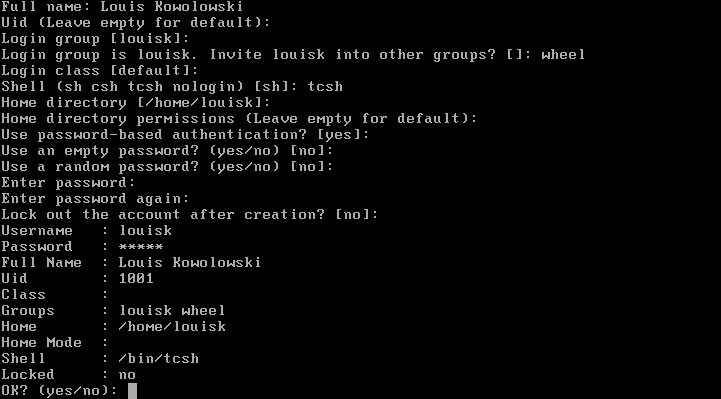
Adding a user
Add a user account for yourself. Again, choose a good password.
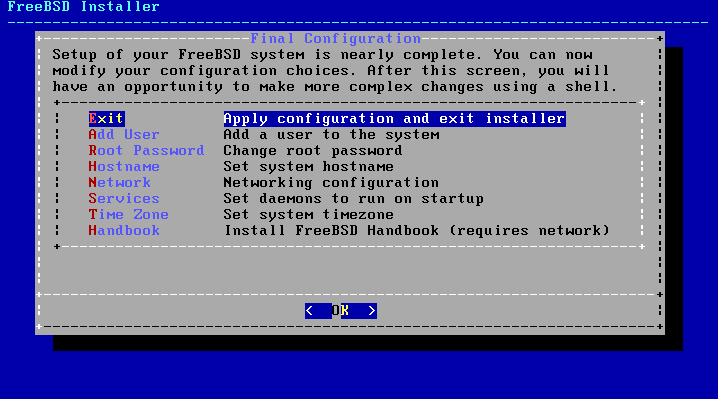
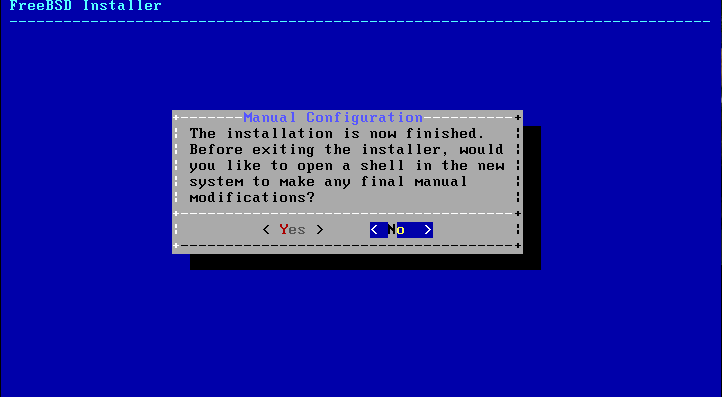
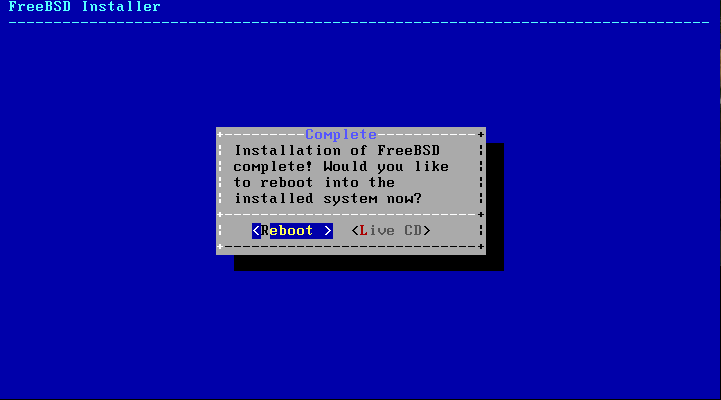
Reboot
Now that we’re done, we can reboot and login (as your user, not root) to our new FreeBSD system.

Comments